Views: 7 Author: Site Editor Publish Time: 2020-02-04 Origin: Site
Metal hardness is the ability of a metal material to resist local deformation, especially plastic deformation, indentation or scratching. It is an indicator of the hardness of a metal material. It can sensitively reflect the chemical composition, metallographic structure, Differences in heat treatment process and cold working deformation, etc., testing the hardness of metal materials is very important in production, scientific research and engineering.
The hardness test can be divided into two types, the indentation method and the scoring method, according to the different methods of force. In the indentation method, it can be divided into a static test method and a dynamic test method according to the force application speed. Among them, the static test method is most commonly used, and common static test methods such as Brinell hardness, Rockwell hardness, and Vickers hardness are used.
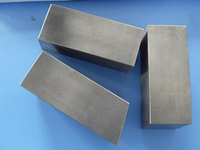
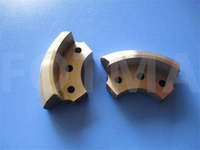
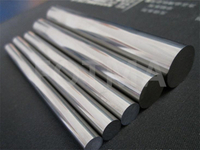
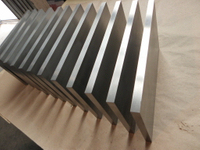
Cemented carbide is an alloy material made of hard compounds of refractory metals and bonded metals by powder metallurgy. It often contains tungsten, cobalt, titanium and other metal elements. Cemented carbide has a series of excellent properties such as high hardness, toughness, wear resistance, heat resistance, corrosion resistance, high temperature resistance, etc., and is known as "industrial teeth". It is mostly used for manufacturing cutting tools, tools, wear-resistant parts, etc. , Widely used in military, aerospace, machining, metallurgy, oil drilling, mining tools, electronic communications, construction and other fields.
Hard alloys generally use Rockwell hardness (HRC) to test the hardness. Rockwell hardness is an index for determining the hardness value by the plastic deformation depth of the indentation, with 0.002 mm as a hardness unit. In the Rockwell hardness test, different indenters and different test forces will produce different combinations, which correspond to different scales for Rockwell hardness. The three most commonly used scales are A, B, and C, that is, HRA, HRB, and HRC. According to the hardness of the experimental materials, different scales are used to indicate:
HRA is a hardness obtained by using a 60Kg load and a diamond cone indenter, and is used for materials with higher hardness. For example: steel sheet, hard alloy.
HRB is a hardness obtained using a 100Kg load and a hardened steel ball with a diameter of 1.5875mm. It is used for materials with lower hardness. For example: mild steel, non-ferrous metals, annealed steel, etc.
HRC is a hardness obtained with a 150Kg load and a diamond cone indenter, which is used for materials with higher hardness. For example: hardened steel, cast iron, etc.
The hardness of hard alloys is generally measured by the Rockwell hardness tester HRA scale. The Rockwell hardness tester is the first Rockwell hardness tester designed in the world based on the Rockwell hardness test principle. It only needs to contact the sample on one side to test the hardness of the metal. No need to support the sample, and the test accuracy meets the standards GB / T230, ISO6508.
The advantage of Rockwell hardness testing is that high hardness materials can be measured by changing the test scale. The indentation is small, which is a non-destructive test. The test method is relatively simple and can be used for semi-finished or finished product inspection. The disadvantage is that the indentation is small and the representation is poor. Due to defects such as segregation and uneven structure in the material, the repeatability of the measured hardness values is poor and the dispersion is large. In addition, the hardness values measured with different scales are not intrinsically related to each other and cannot be directly compared.


